DIY Rustic Wooden Memo Board - Never Forget Important Things Again
We all alive such decorated lives that it's oftentimes hard to keep rails of everything we need to do. This is where the memo boards come in, as they tin aid u.s. call back some of the bigger things we have to do. Therefore, our project for the day is a rustic wooden memo board!
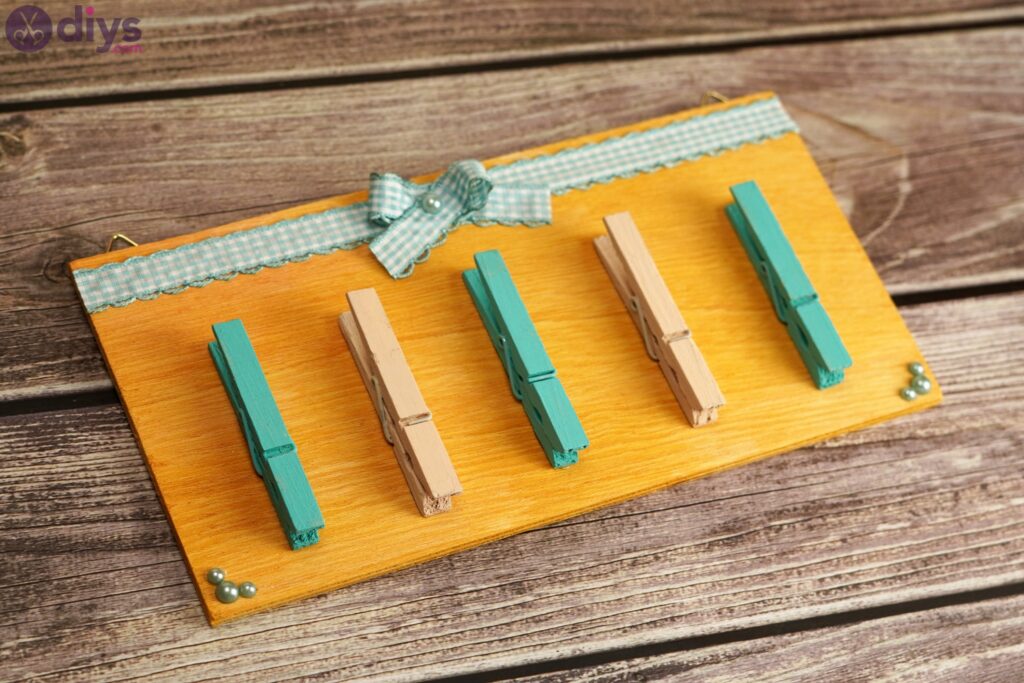
It'southward going to be so useful to have this hanging somewhere where you can always see it, like near your hanger in your hallway or wherever it is that you hang your keys.
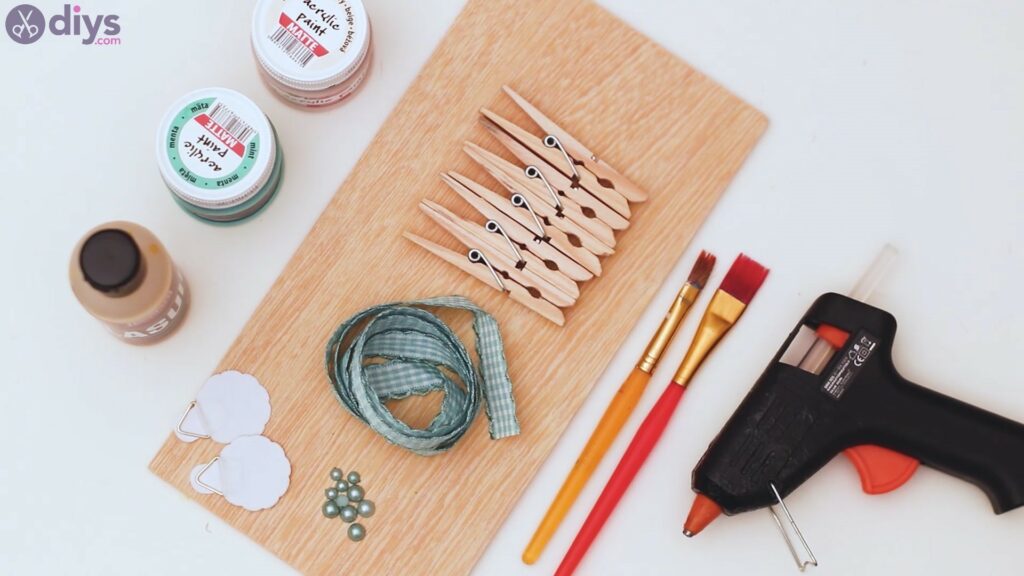
Materials for rustic wooden memo lath
- wood board
- green and cream acrylic paint
- brownish spot glaze
- silk ribbon
- decor beads
- clothespins
- hanging hoops
- paintbrush
- mucilage gun
How to make a rustic wooden memo board
Earlier we even begin, we want to make sure that you have all the materials fix on the work table. In this manner, you won't go running effectually later something or another that yous forgot to take, so permit's brainstorm and gather everything you need.
Fix now? Let'southward start!
Footstep i: Prepare the wood
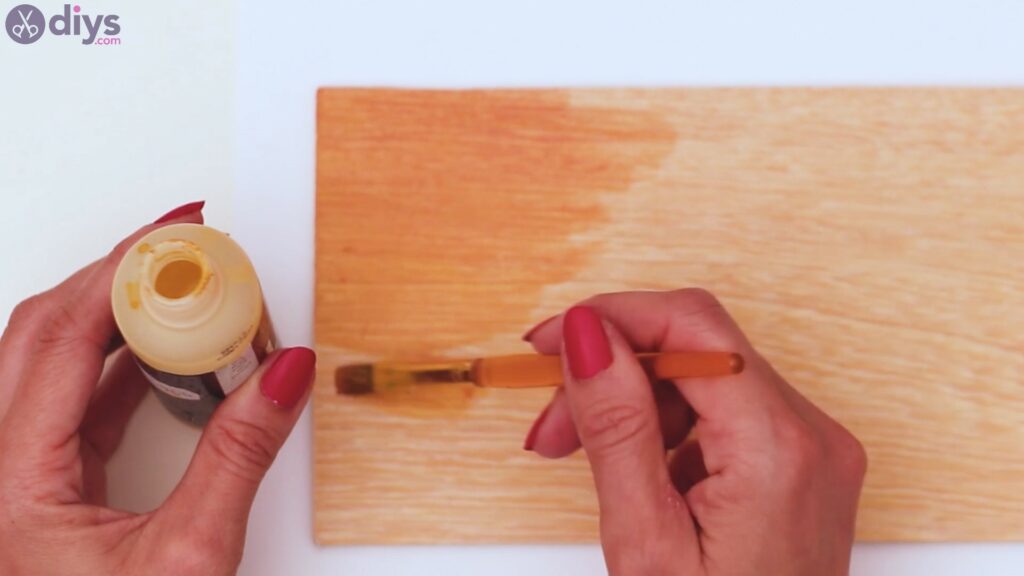
The first thing you lot want to do is to make sure the woods you're basing the whole memo lath on is prepared and protected. So, get the forest glaze and a paintbrush and start applying it to the woods slice.
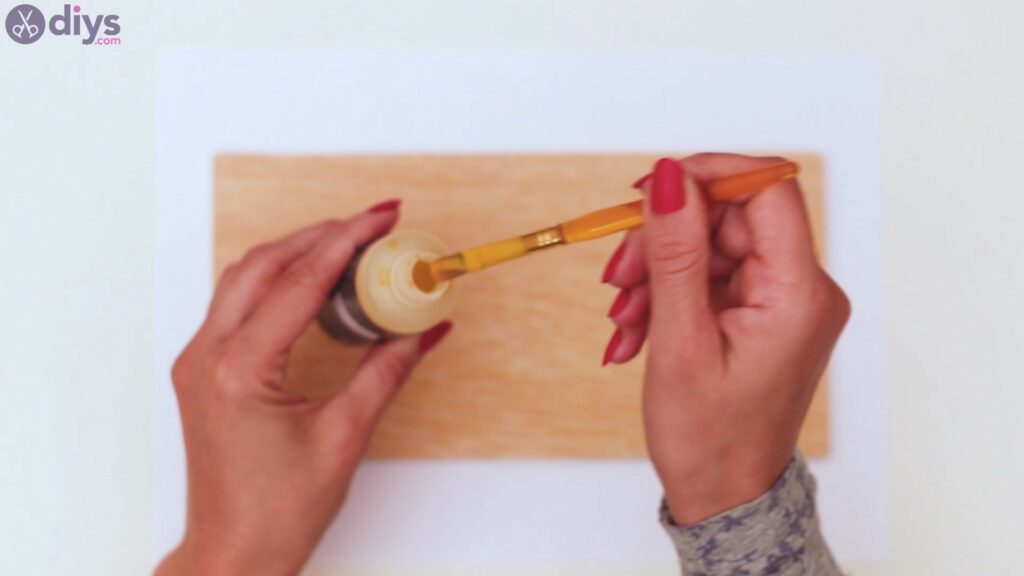
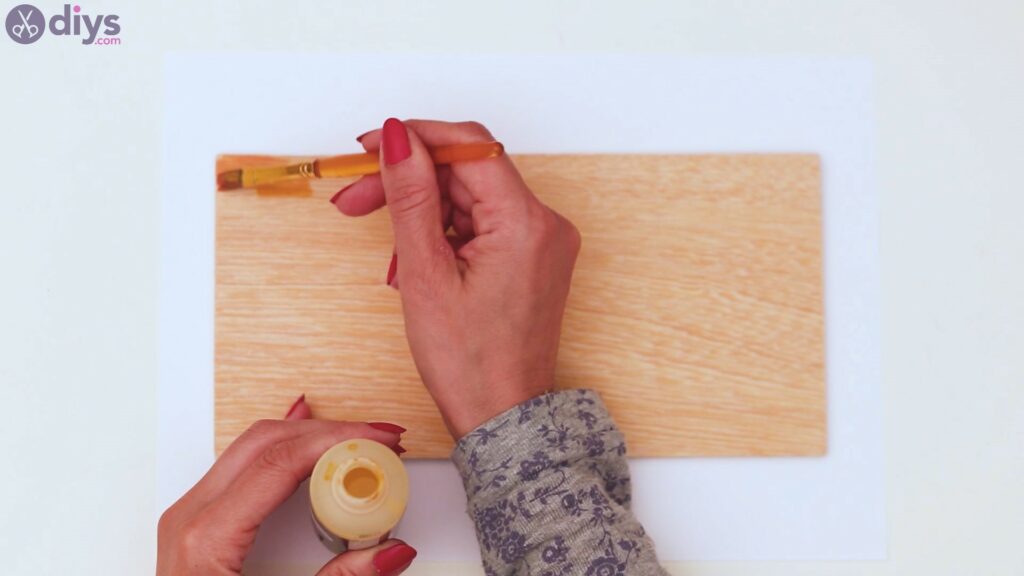
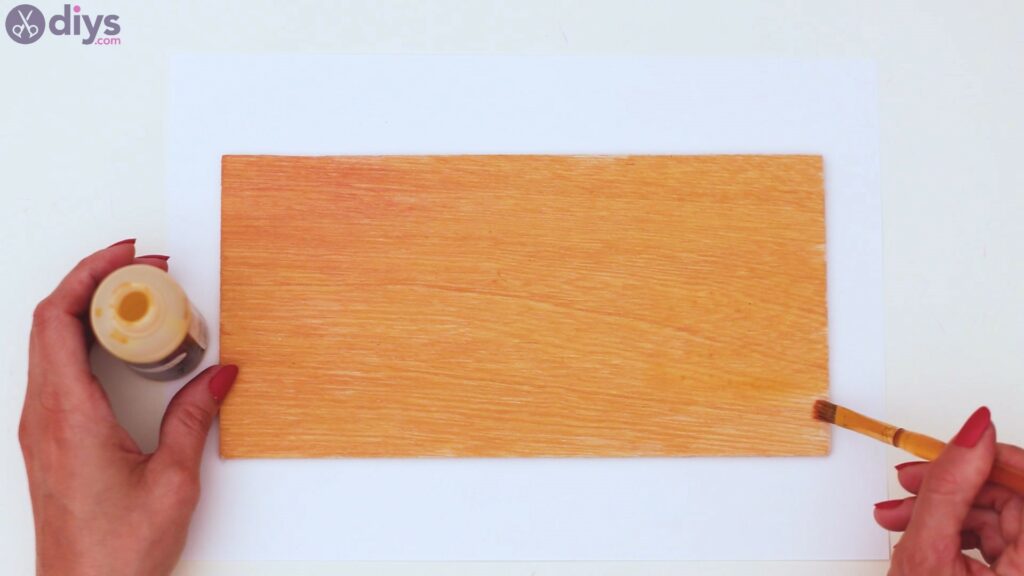
Start in one corner and build upward towards the other stop, slowly applying the glaze, making certain to cover every spot.
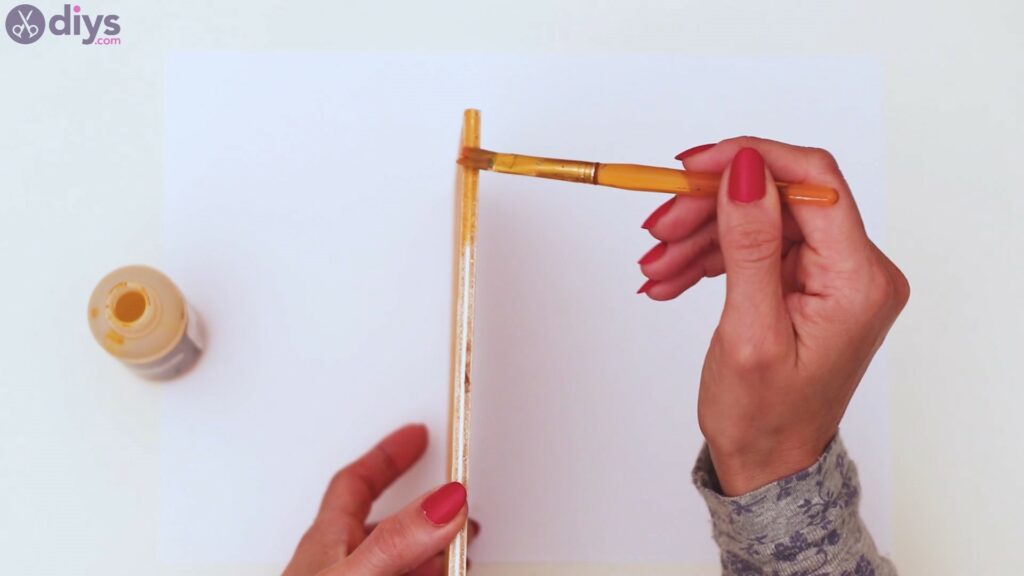
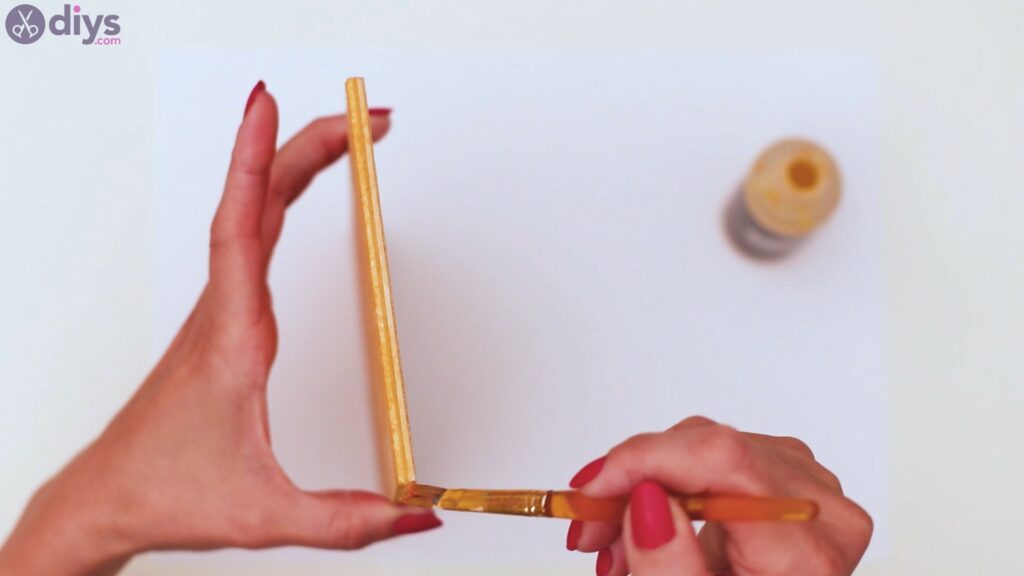
Fifty-fifty after y'all reach the other corner of the wood piece, you still have work to practice. Embrace the edges of the wood board with coat too.
Depending on how much fourth dimension you accept on your hands, you can likewise get ahead and pigment the other side of the lath too.
Step 2: Pigment the clothespins
For our projection, nosotros're using wood clothespins. They have this rustic feel nearly them, look a lot better than plastic ones, and you tin as well customize them. So, catch the acrylic paint and another paintbrushand let's begin!
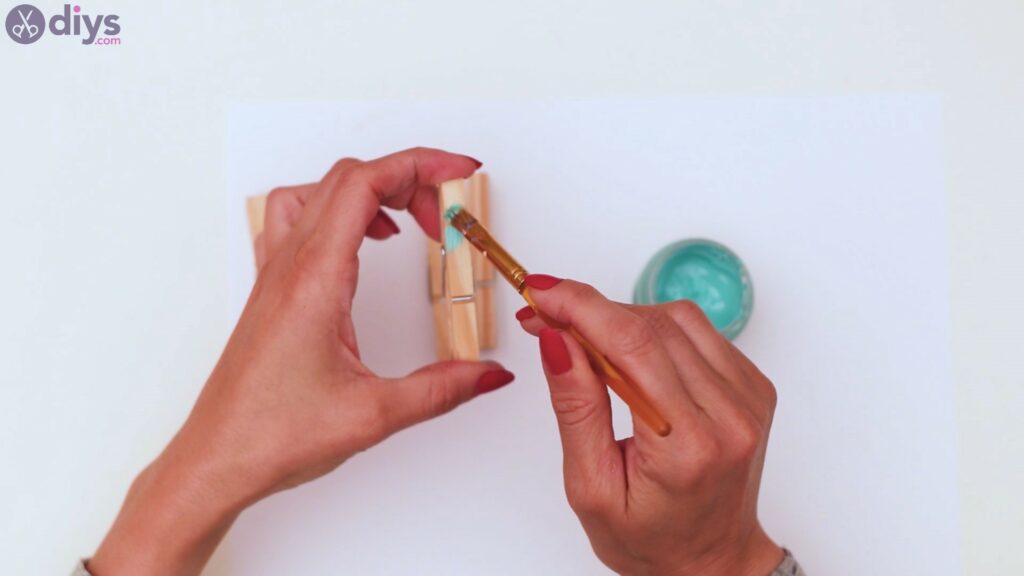
Nosotros have both blue and cream acrylic pigment on mitt, so let's paint the clothespins in both colors. Nosotros only have five clothespins for the size of our board, only you lot can add more if you lot have a bigger board.
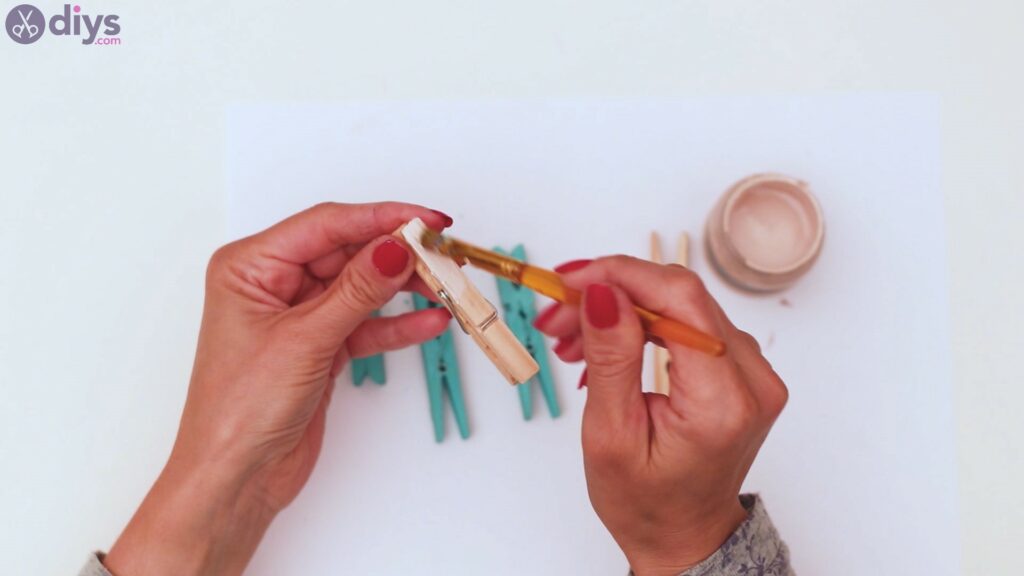
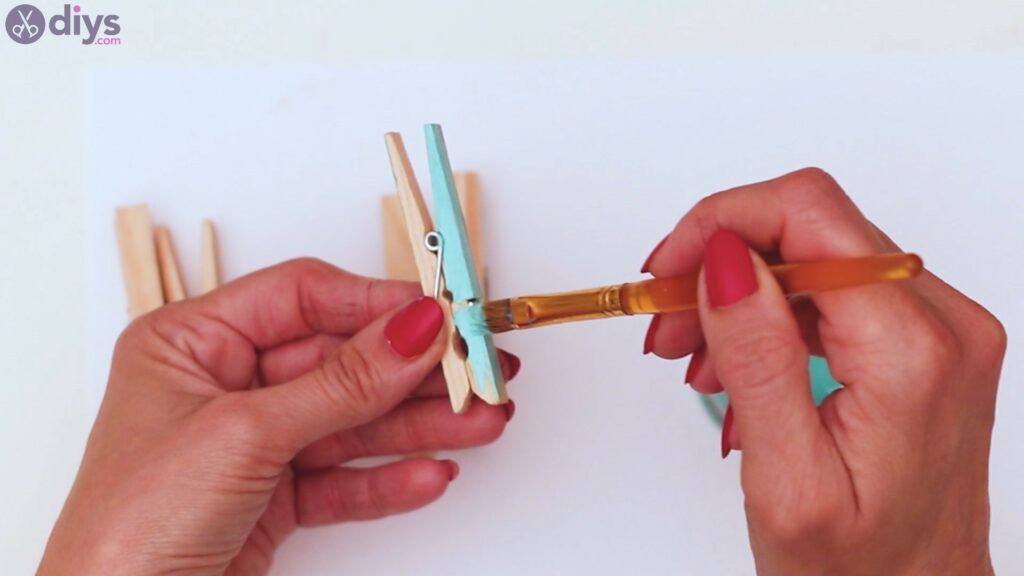
Make sure you cover the entire clothespin with the color, even in between the pieces.
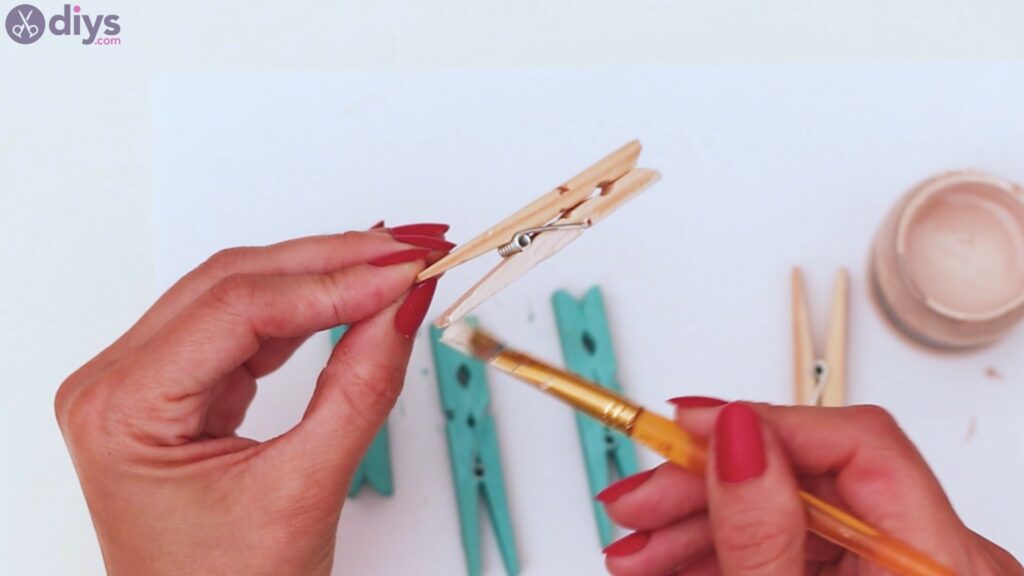
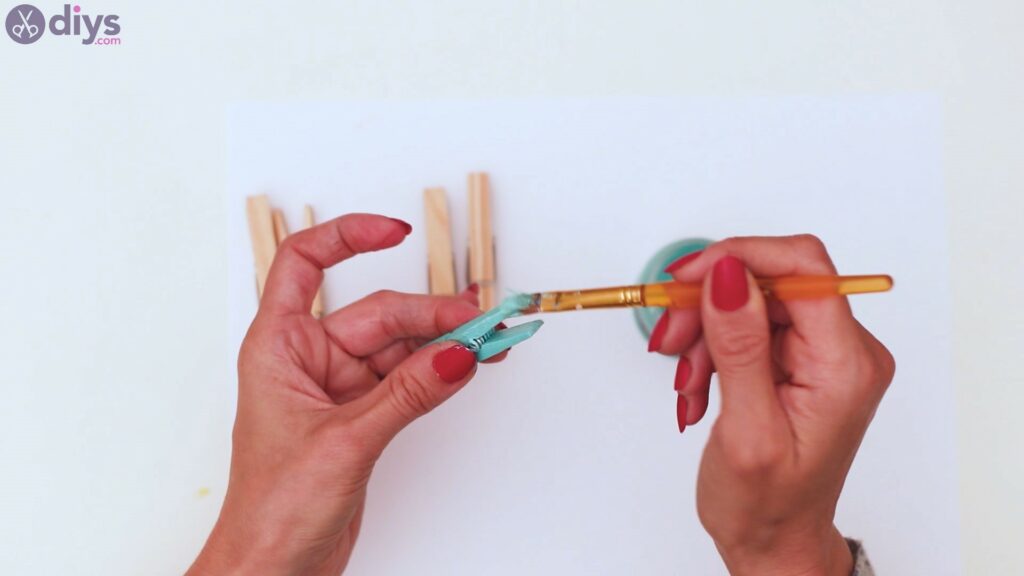
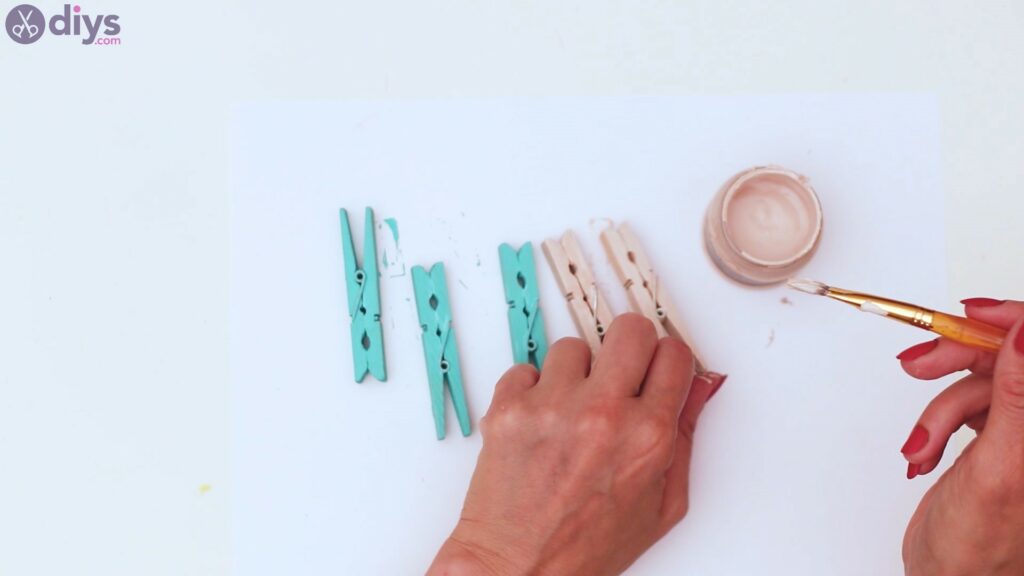
Open up the clothespin as wide equally information technology can get and add in the color to that surface area too.

Prepare the clothespins on a piece of paper and allow them fourth dimension to dry out.
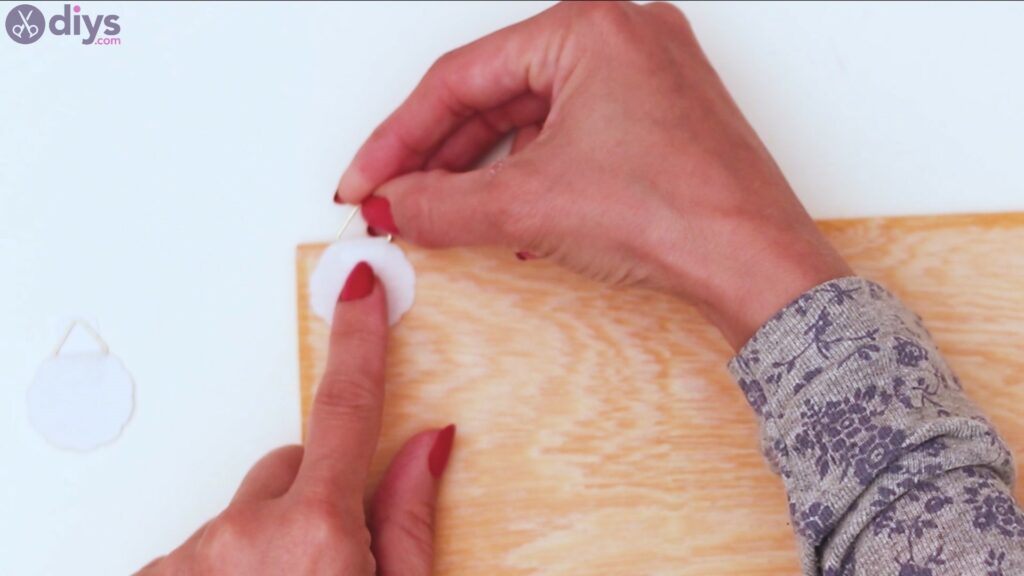
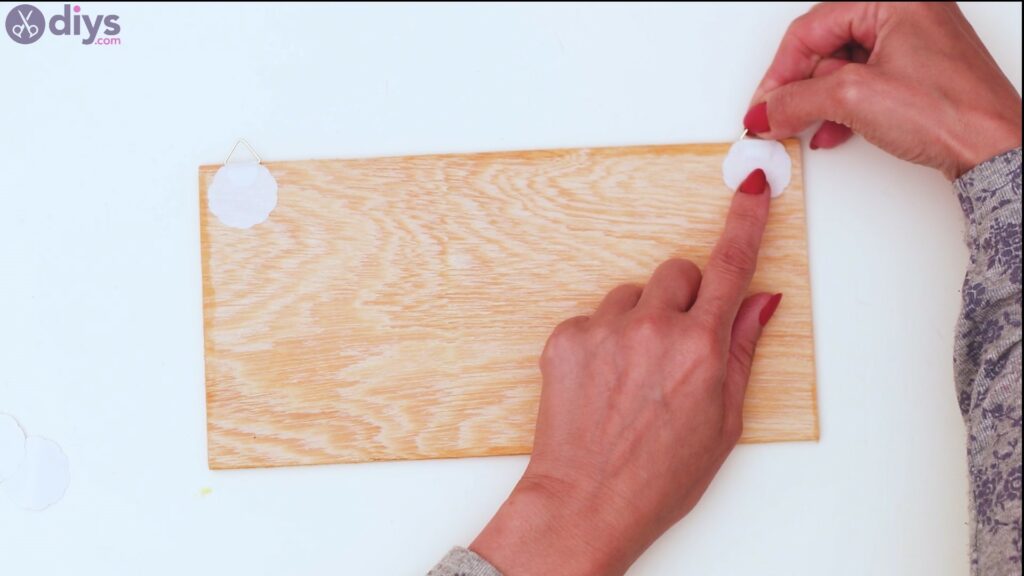
Step 3: Add the hanging hoops
Bold your board is now completely dry, nosotros can go to the next stride. Get the hanging hoops and apply them to the dorsum of the board. Our hanging hoops are self-adhesive, so information technology'southward super easy to get them on. If yous have a unlike model, you may want to use your glue gun instead, or fifty-fifty some nails, if the width of the lath permits.
Apply the hanging hoops on the very sides of the board, making certain the metal part is just above the lath.
Step iv: Utilize the silk ribbon
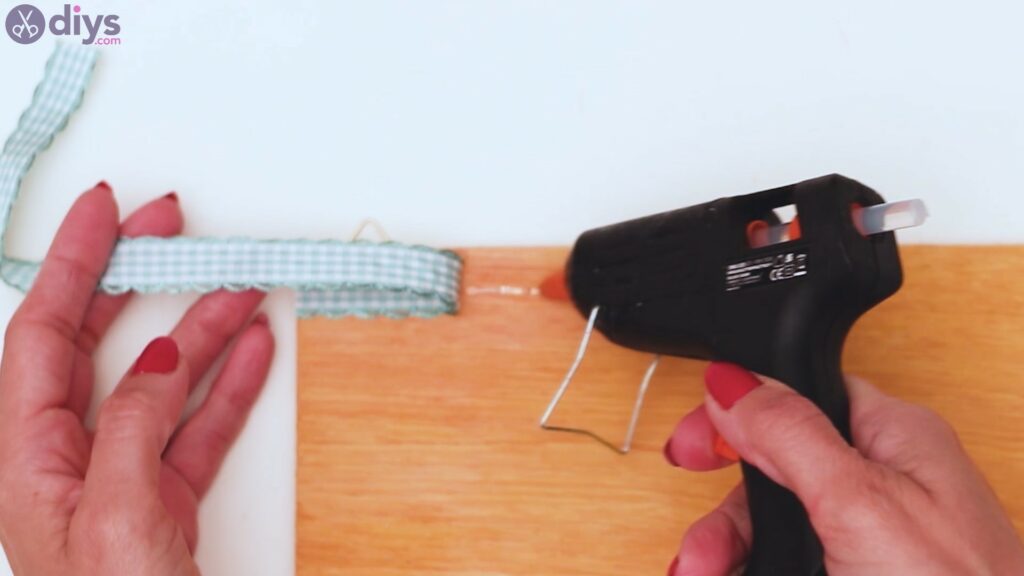
We need to use the silk ribbon next, so turn the board the correct side up over again. Measure the ribbon by placing information technology over the board.
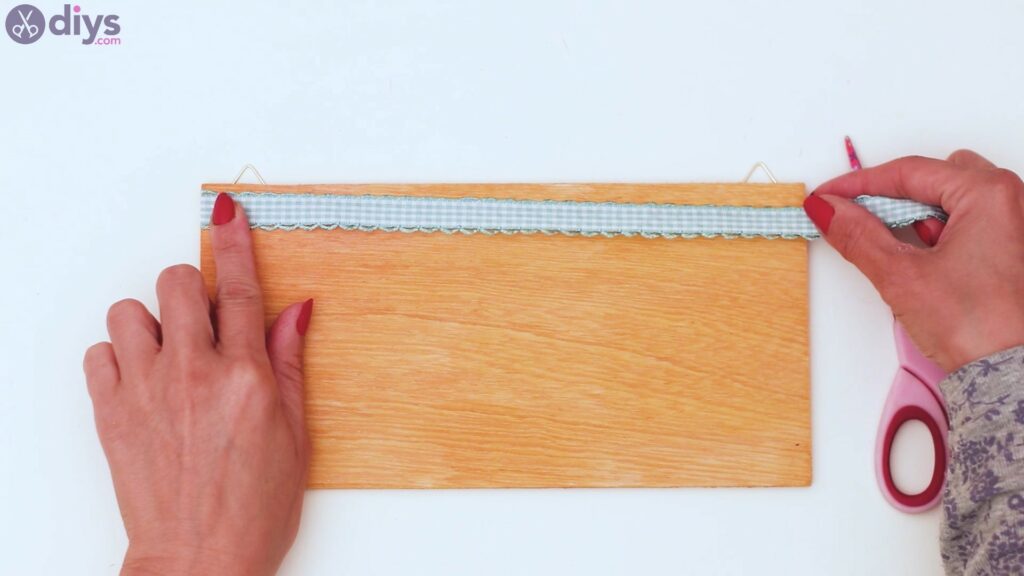
Cut the length you demand with yourscissors.
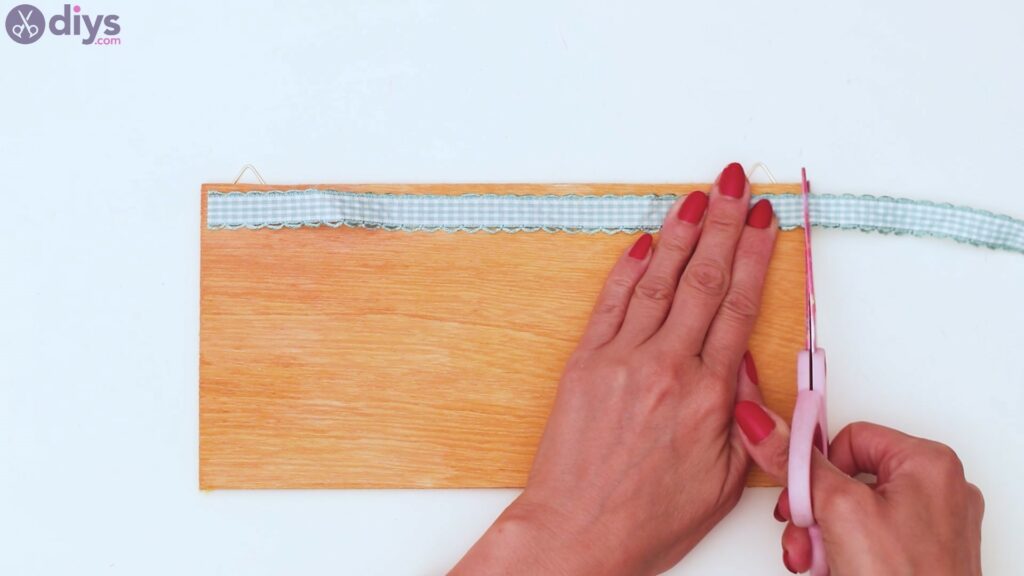
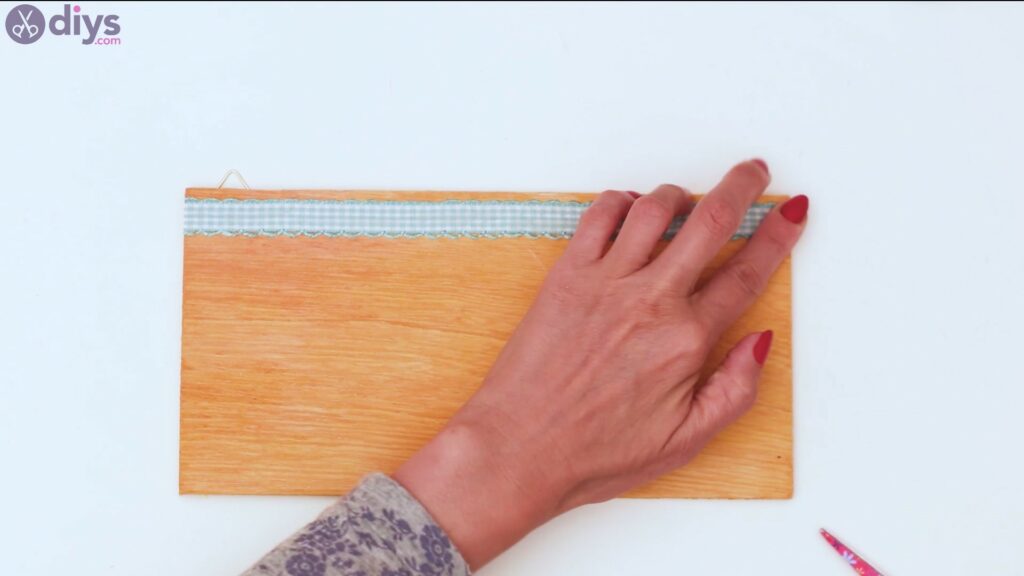
Go yourmucilage gunand start applying hot gum to the board, nigh a half-inch away from the top of the board. Start pressing the silk ribbon into the glue and run your finger over it to make sure information technology is glued down nicely.
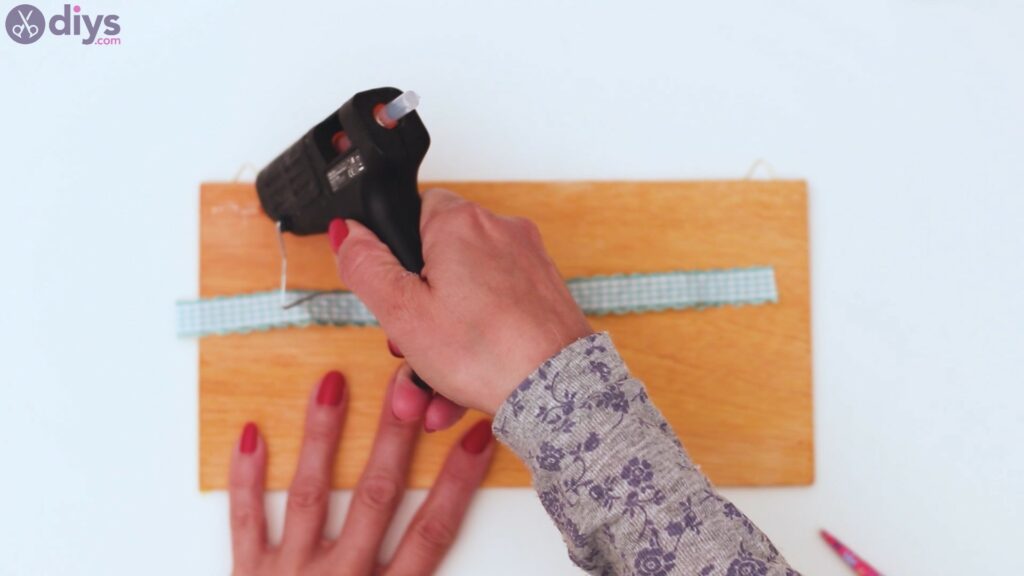
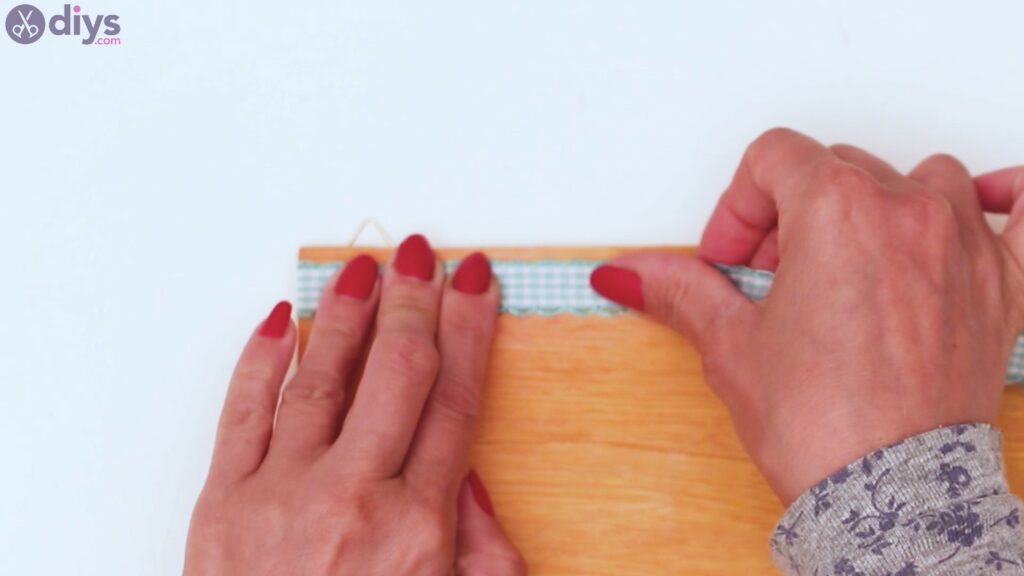
Keep adding hot glue to the lath and pressing the ribbon into it. We suggest you get slowly, inch past inch, and so yous don't mess up the ribbon. You lot want it to be applied straight and if you hurry through this at that place's a loftier chance it could end up skewed.
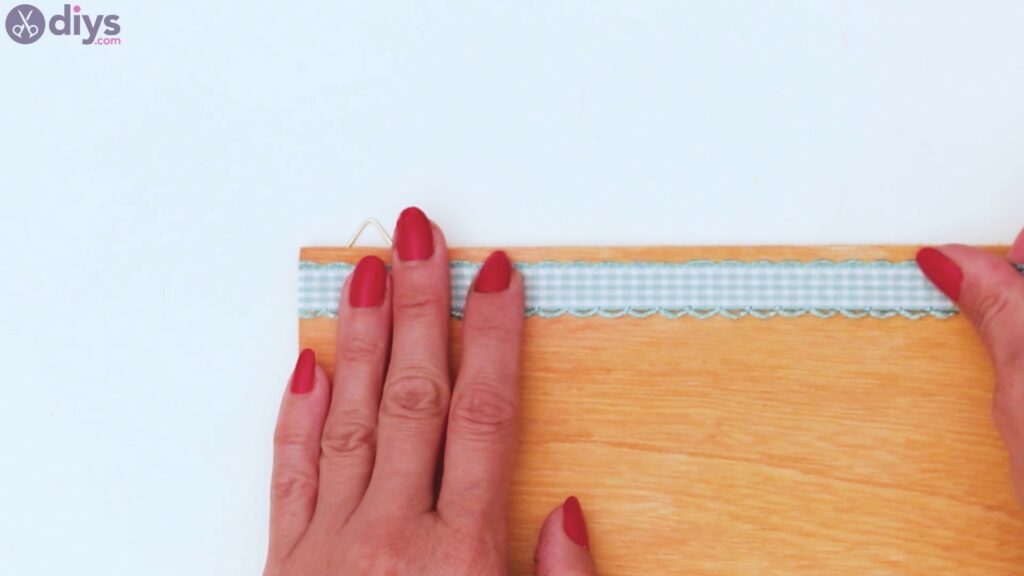
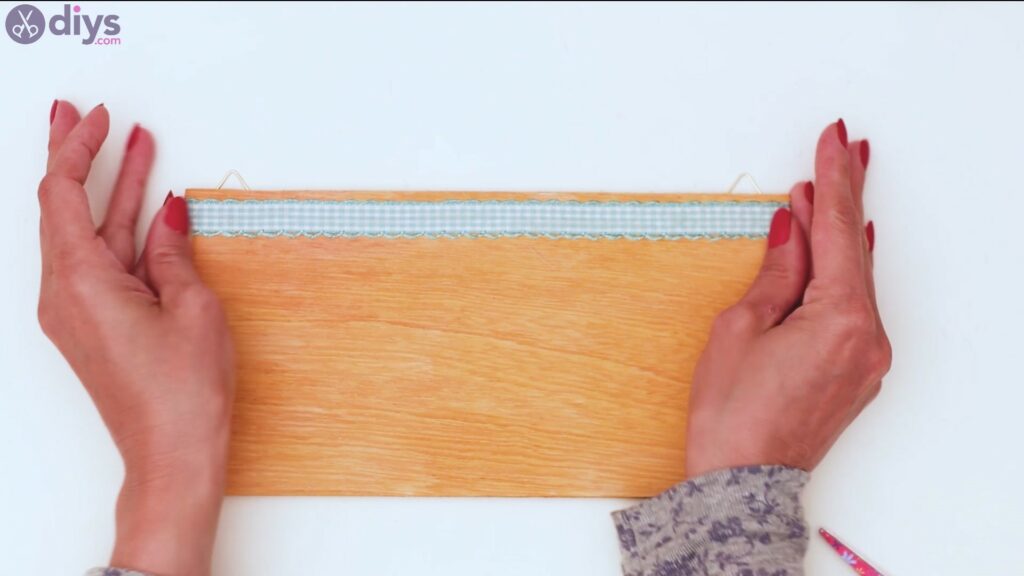
Run your finger over the whole ribbon to make certain the glue is set right and that you have a straight ribbon.
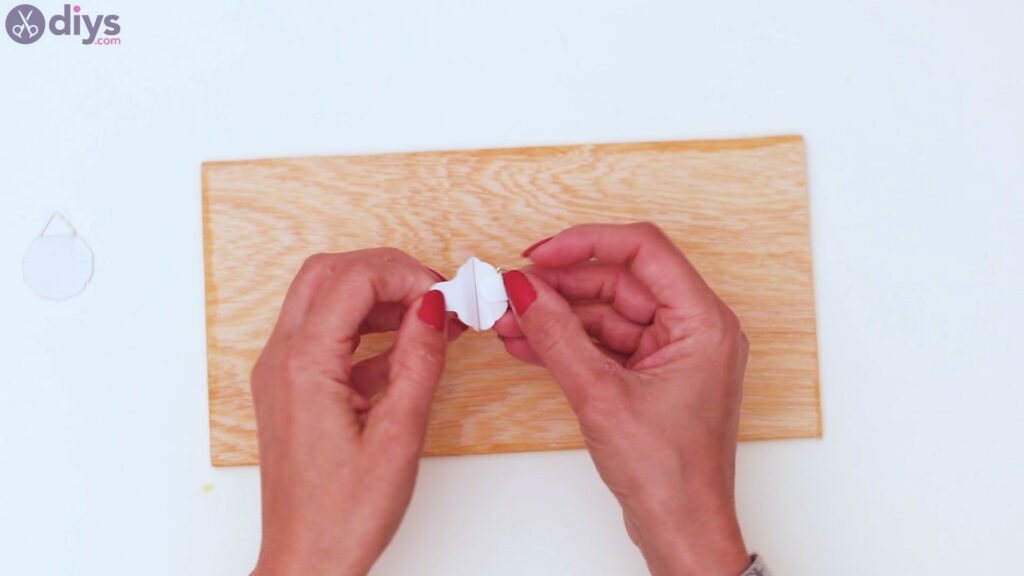
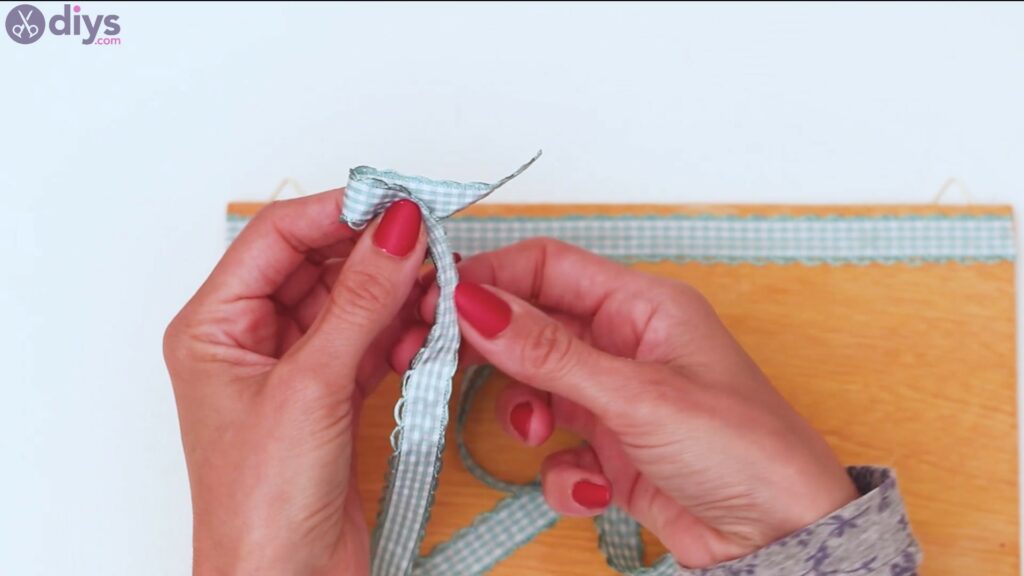
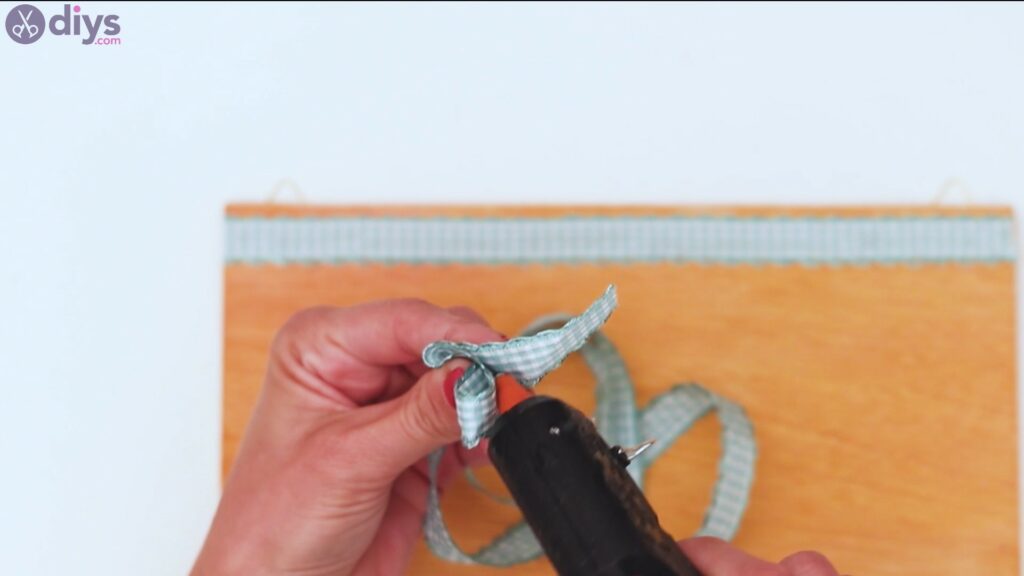
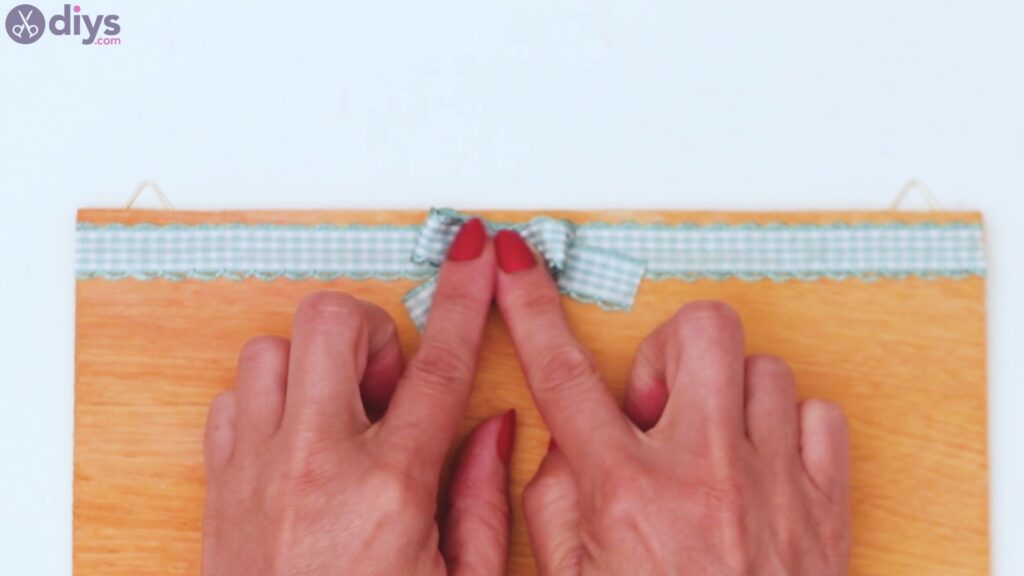
Footstep 4: Let's make a bow
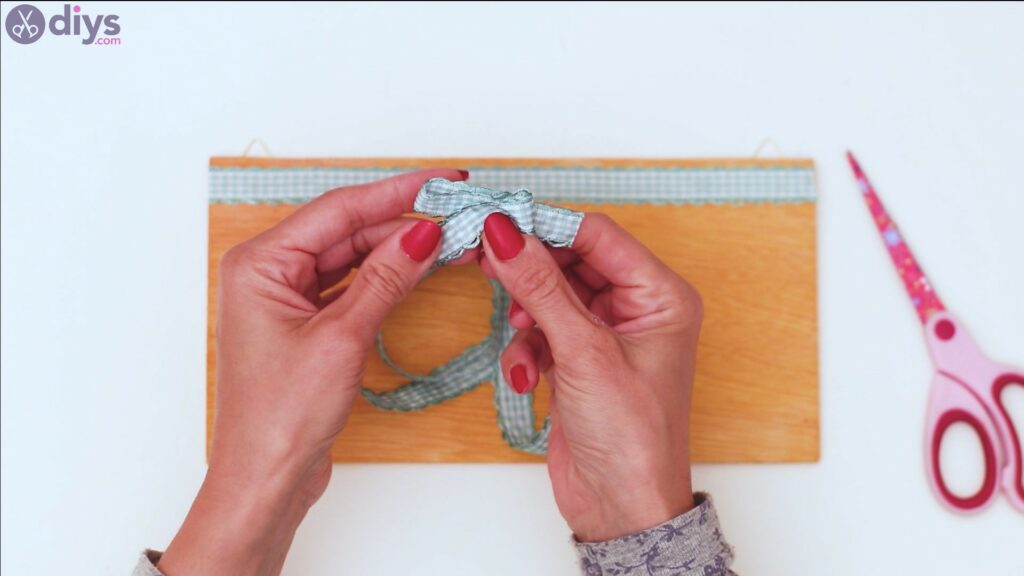
Since we're already using this item silk ribbon, let's besides create a bow out of information technology. Conform the ribbon into the grade of a bow by creating two loops.
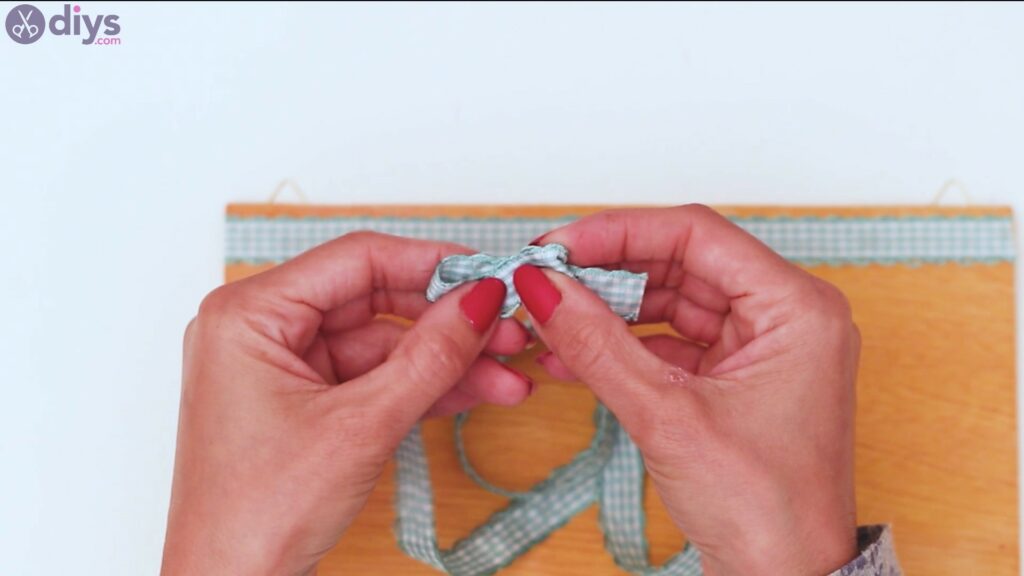
Add some hot mucilage to make sure the textile isn't moving anywhere.
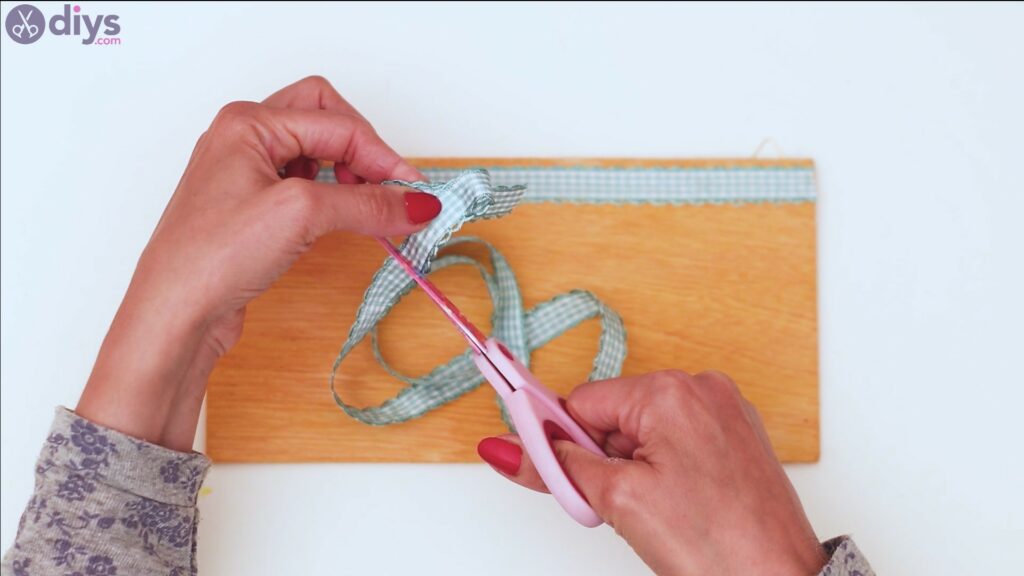
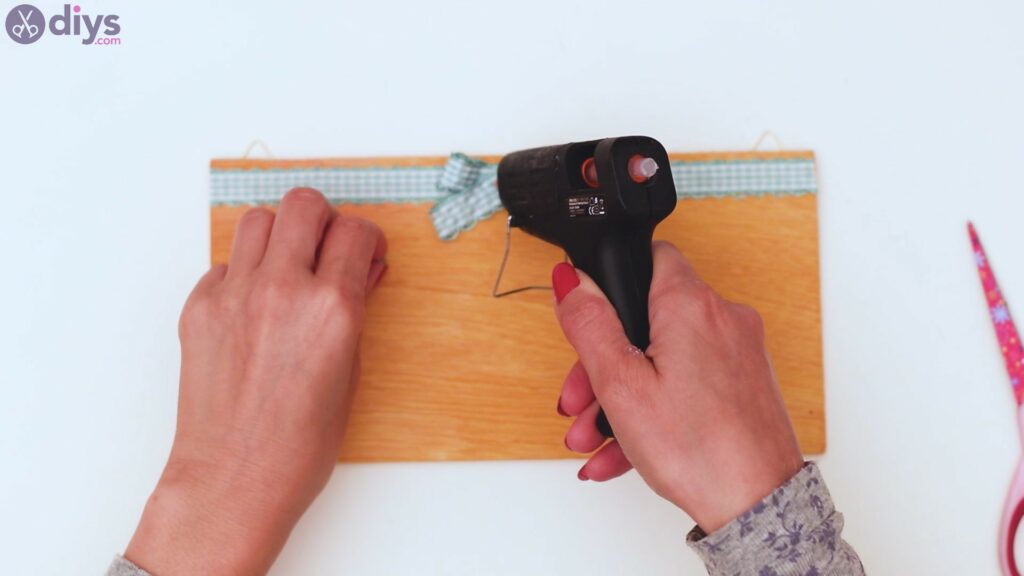
Cutting the extra ribbon so the bow is easier to handle.
Go the glue gun once more than and add some hot glue to the eye of the ribbon on the wood board and place the bow over it.
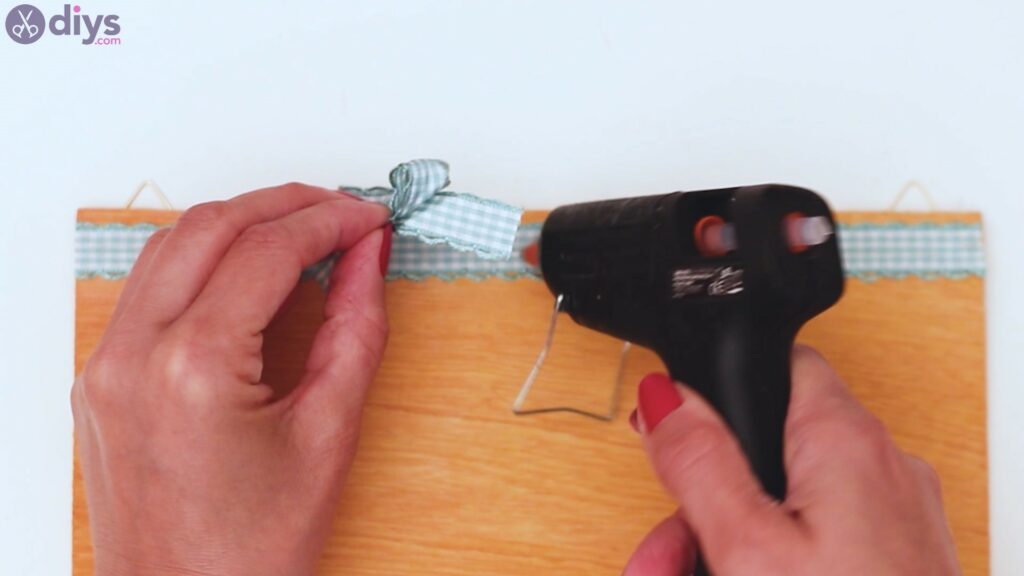
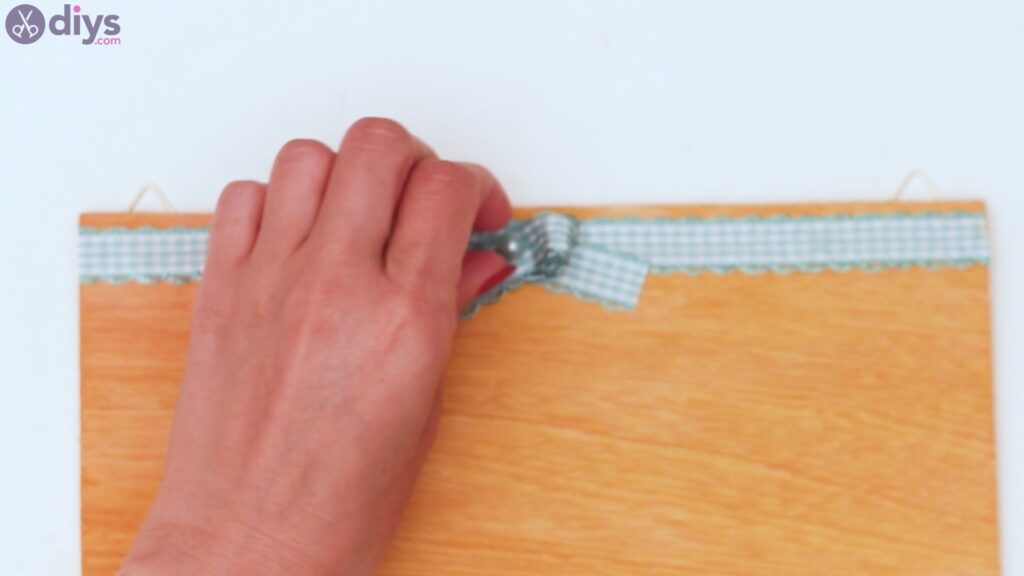
Press it for a few seconds then the glue sets.
Add another dot of hot mucilage to the middle of the bow and press 1 of the decor beads over it.
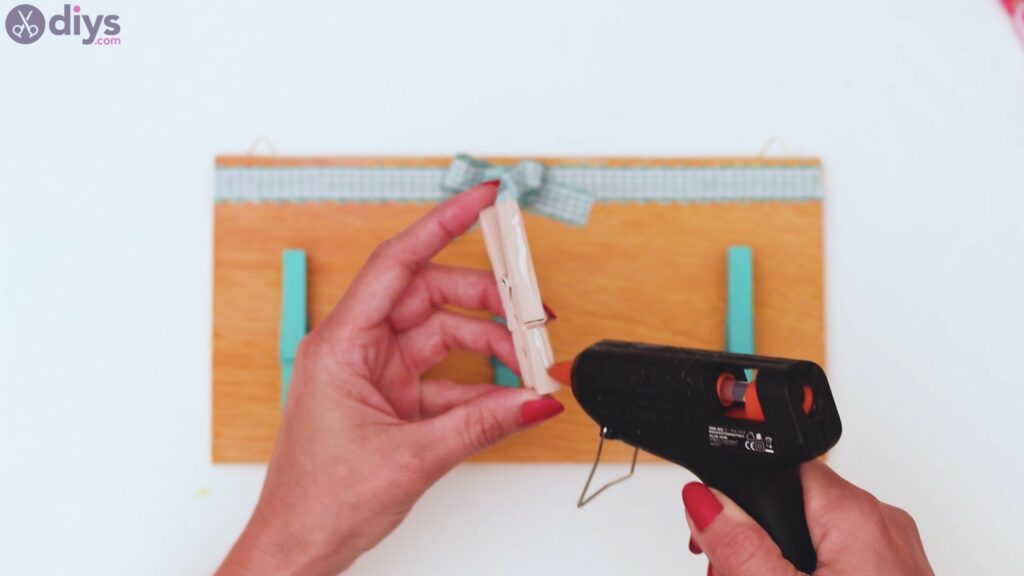
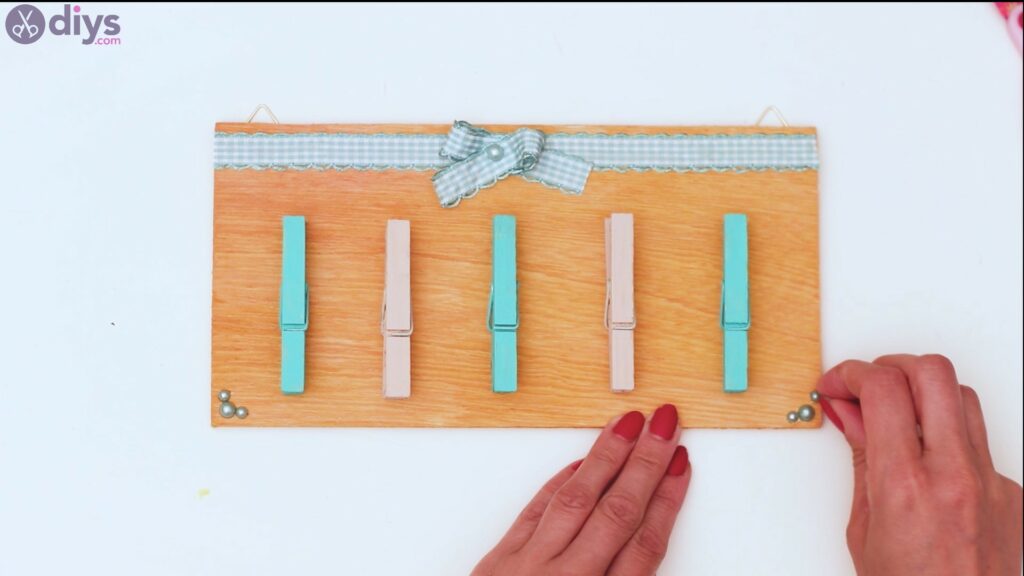
Step 5: Get the clothespins
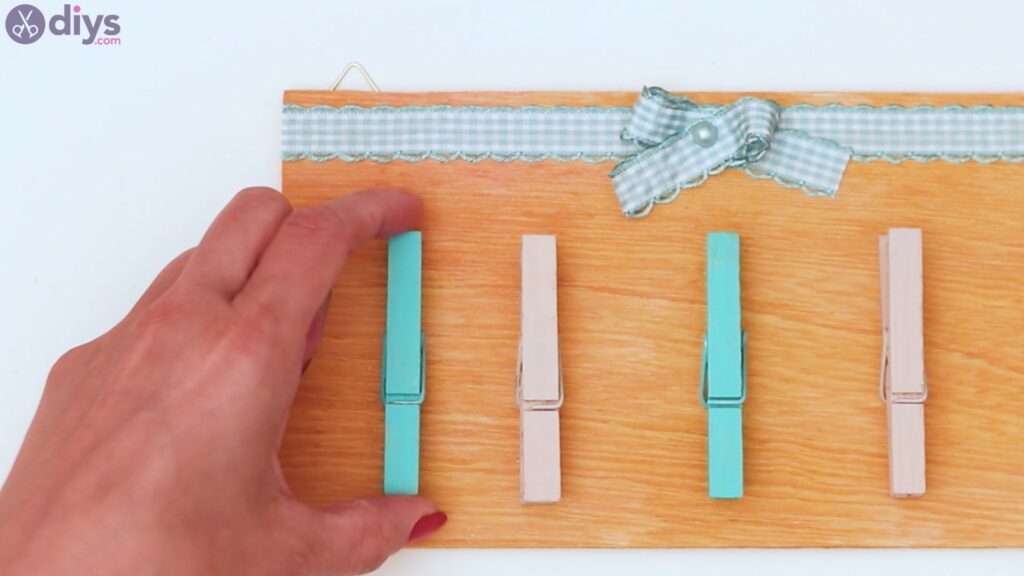
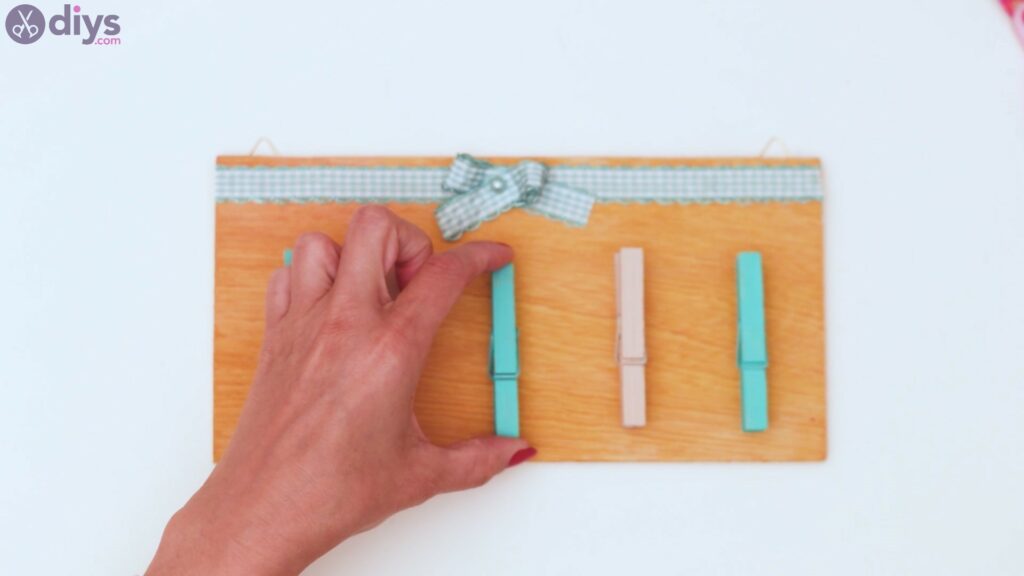
For the side by side step, you need to get the painted out clothespins. By now, they should have dried up. So, let'southward accommodate the clothespins on the board, mixing upwards the colors and figuring out the distance between them on the wood lath.
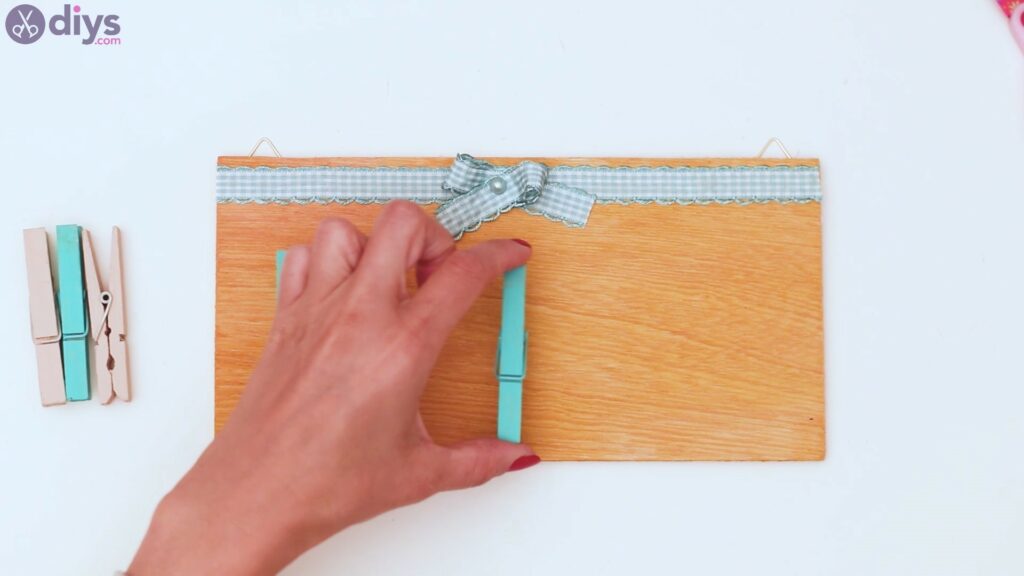
There! That looks great, correct?

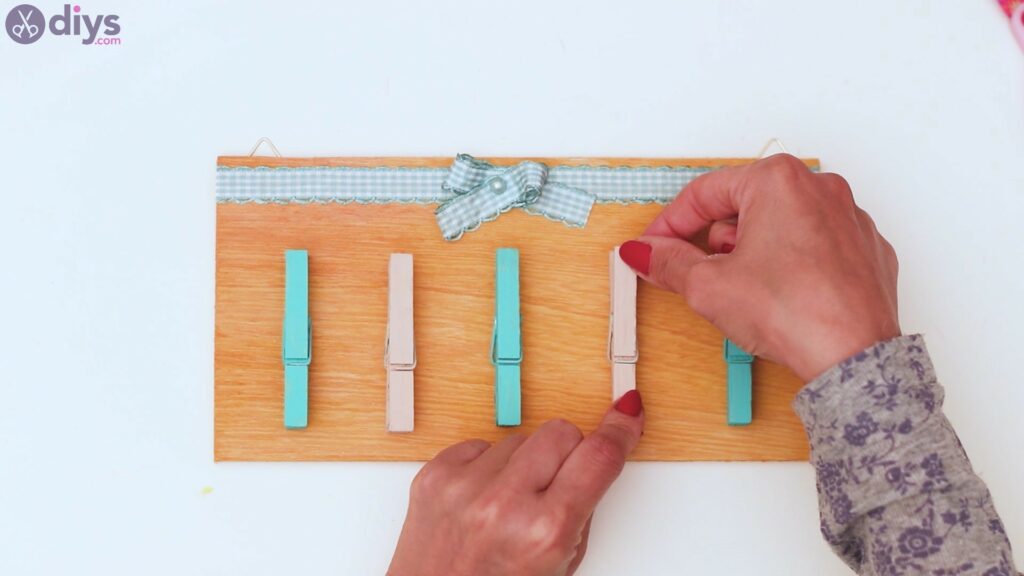
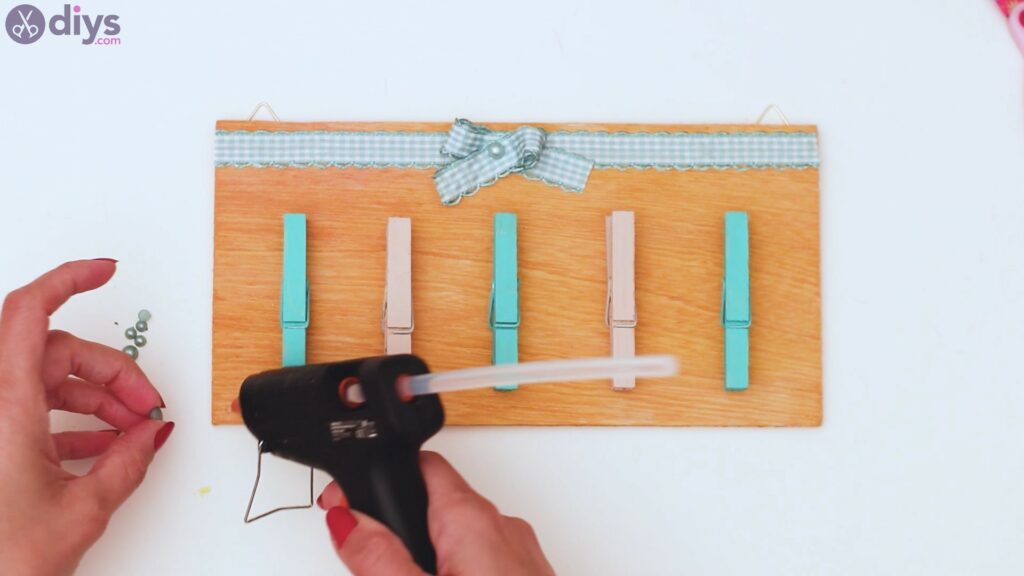
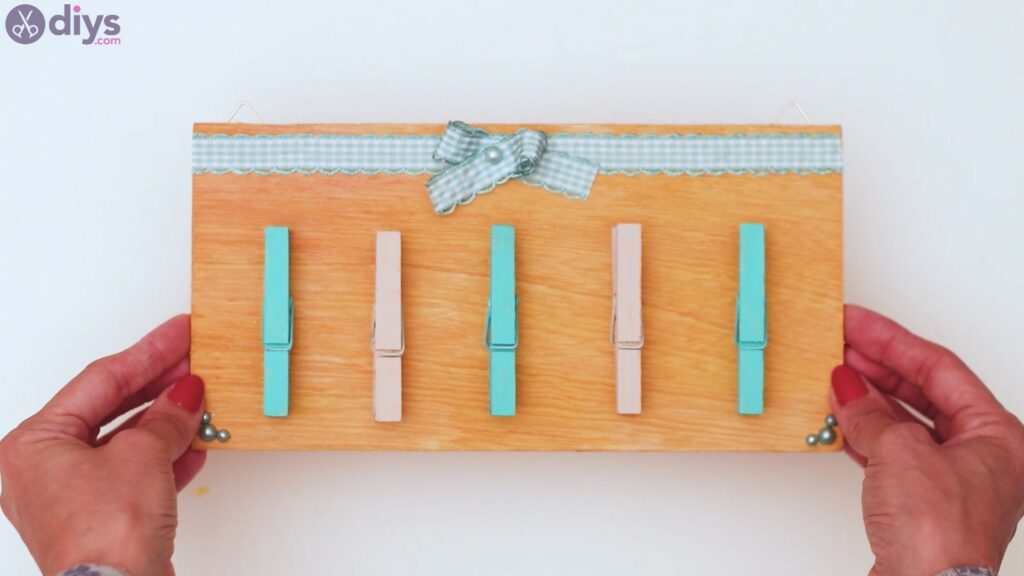
Selection one of the clothespins off the board and offset adding some hot glue to ane of the sides earlier placing them back.
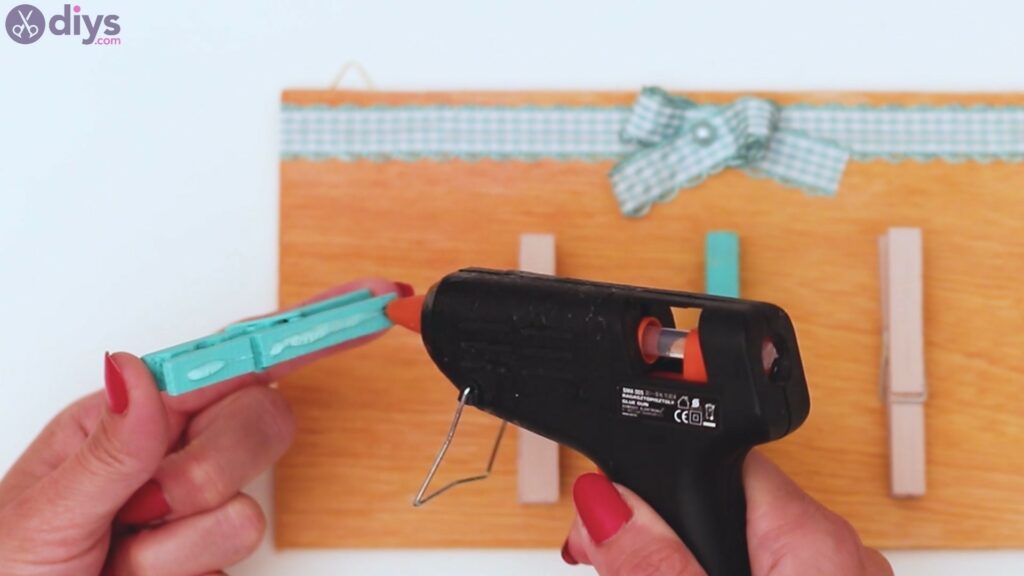
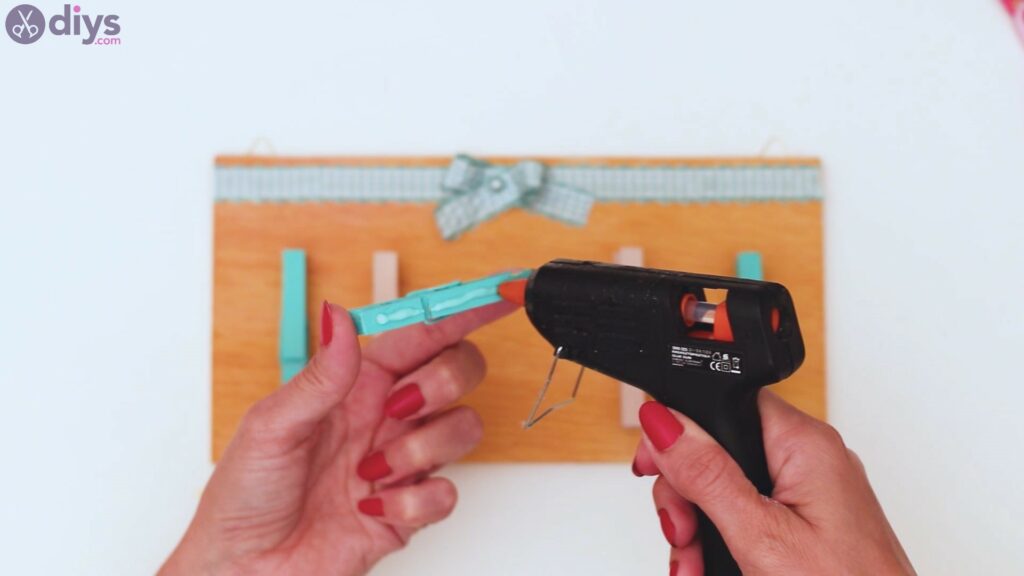
Repeat the procedure for each of the clothespins you have on the board.
There you get! They all accept a permanent identify at present!
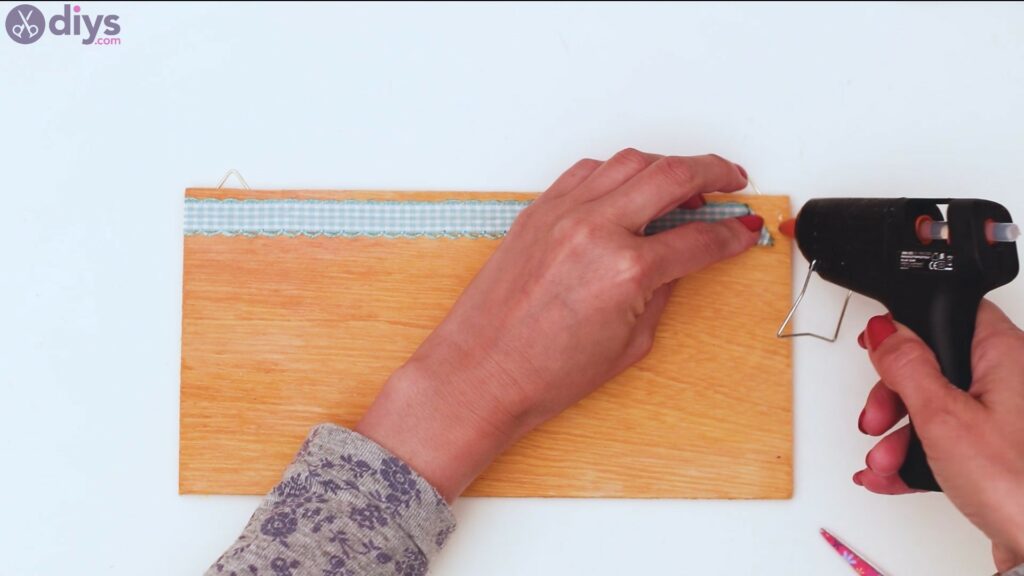
Step 6: Decorate the board
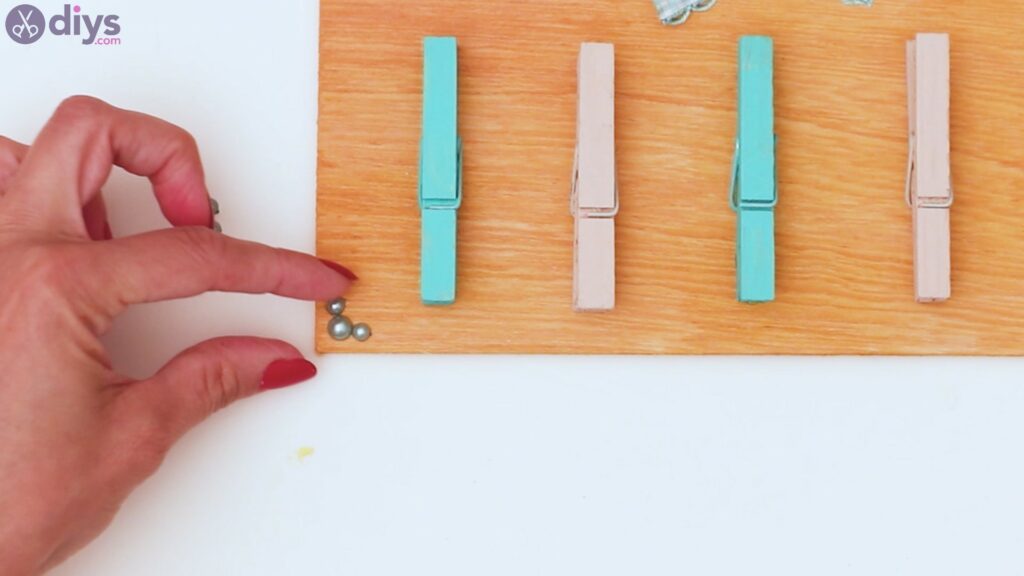
Our memo board is already pretty cute, just information technology can exist even cuter. Let's get some of those decor beads and let's add them in. Put some hot glue to the corner of the lath and apply three beads over it. If you're curious, we're using one-half-beads so they're easier to utilize and y'all can do the same if yous have some.
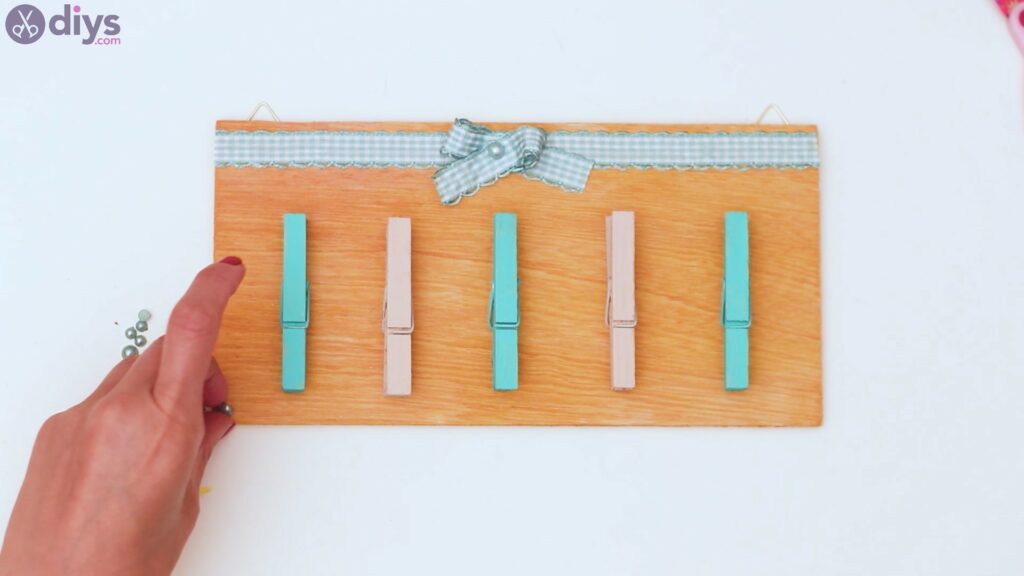
There we become! Three beads to marker the corner of the woods board.
Add together the same beads to the other side of the board too.
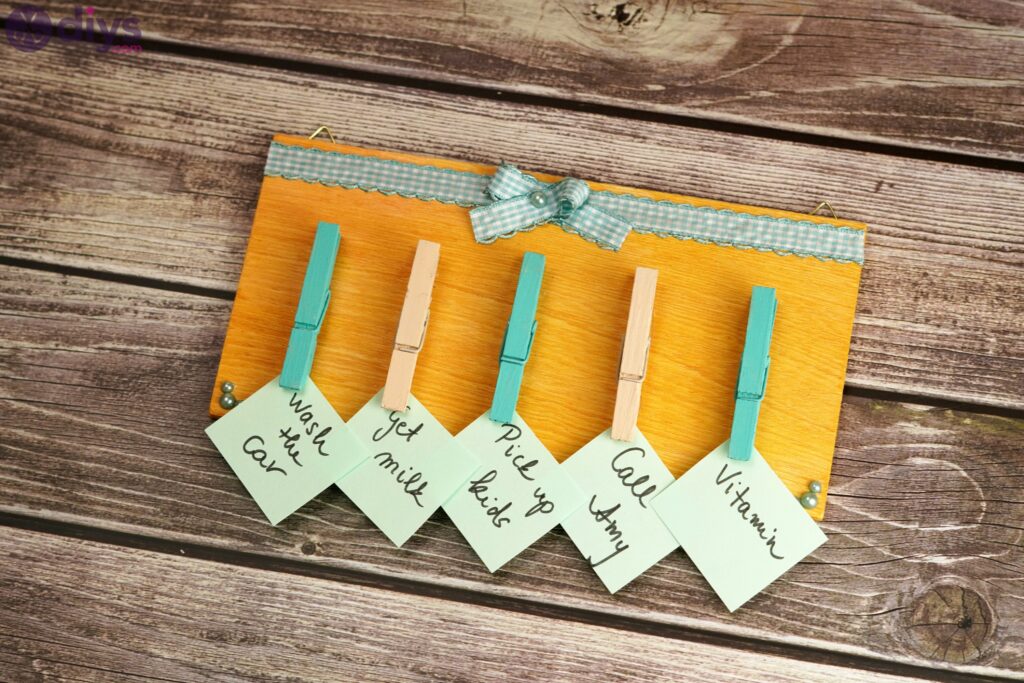
And there we have information technology! It's a really cute and rustic wood memo lath so you can proceed all your reminders. Hopefully, in this way, yous won't forget to get your lunch out of the fridge the adjacent time you leave for the office.
We'd love to hear back from you then you tin tell united states what y'all think of this particular craft. Also, send us your pics over social media so we tin check them out too!
This design can hands exist customized by getting a different-sized lath, changing the ribbon and picking a different color for it, painting the clothespins in other shades as well, and and then on.
Source: https://www.diys.com/rustic-wooden-memo-board/
0 Response to "DIY Rustic Wooden Memo Board - Never Forget Important Things Again"
Enviar um comentário